
The best way to store floor plans is a centralized, searchable digital property vault with version history and automatic backups, not a folder buried in your email or a paper roll in the garage. Set this up correctly once, and you never lose another home document again.
Three things you can do right now, in under 10 minutes:
- Pick a vault (a property management platform with document storage, a cloud drive, or a dedicated home-records app).
- Save a PDF/A copy of your current floor plan, since archival PDF is the standard format for long-term readability.
- Create a property record and drop in a one-paragraph README noting capture date and file types.
If you ever need CAD editing or measurement-grade accuracy, keep a DXF or LAS export alongside the PDF. Property Command Center is built around exactly this workflow: one property record per home, with a document vault that holds plans, photos, and everything else you'd otherwise lose track of.
Key Takeaways
A centralized digital vault with versioning, consistent naming, and scheduled backups is the only storage method that keeps floor plans findable years after capture.
| Point | Details |
|---|---|
| Pick one vault | Store all plans in a single searchable location instead of scattered emails or drives. |
| Keep four core files | Save the PDF, an editable export if available, labeled photos, and a scope note per property. |
| Name files consistently | Use property ID, capture date, and file type in every filename for instant identification. |
| Back up in three places | Combine vault storage, a local encrypted drive, and an offsite backup with versioning enabled. |
| Use Property Command Center | Its document vault and versioning map directly to this storage workflow for multi-property owners. |
Table of Contents
- What Files You Actually Need to Store for Each Property
- Setting Up Folders and File Names That Actually Work
- Which File Format Should You Actually Keep?
- How to Capture a Complete Scan So You're Not Missing Rooms Later
- Packaging Plans for Contractors, Guests, or Insurance Providers
- How to Keep Floor Plans Safe and Backed Up
- Why a Single Vault Changes How You Deal With Contractors
- Let Property Command Center Hold the Plans So You Don't Have To
- Sources
What Files You Actually Need to Store for Each Property
You don't need a filing cabinet's worth of documents per house. You need four things, plus one optional bonus if you've had a professional scan done.
Core files, every property:
- A final PDF floor plan you can open on any device.
- An editable export (SVG, DXF, or DWG) if your capture service or architect provided one.
- High-resolution photos organized by room, not just dumped into one folder.
- A short scope note describing what was actually captured and when.
Nice to have, not required:
- A point cloud (LAS file) if you used a 3D scanning service.
- A link to the original scan model if your capture provider hosts one.
- Reflected ceiling plans or elevation sketches for renovation planning.
Pro Tip: Keep one README or metadata file per property listing the capture date, who created it, and the units or coordinate system used for any CAD files. Six months from now, you won't remember whether that DXF was drawn in feet or meters, and neither will the contractor you send it to.
Setting Up Folders and File Names That Actually Work
Owning two or three properties makes casual folder habits fall apart fast. A "Floor Plans" folder on your desktop works fine until you're managing a primary home, a lake house, and a short-term rental, and suddenly you're opening five files named "final_v2.pdf" trying to figure out which house is which.
Use a folder tree that mirrors how you actually think about your properties:
PropertyRoot → [PropertyID]_[StreetName] → Plans / Photos / Scans / Docs / Vendors
Inside the Plans folder, name files with the property ID, capture date, and file type built right in. For example: 1234_MapleSt_20240612_FloorPlan_PDF.pdf. Anyone opening that filename instantly knows the property, the date, and what they're looking at, without opening a single file.
At the property level, store a small metadata table so you (or a future contractor) never have to guess:
The property record inside your vault should link directly to this Plans folder, with the scope note and README sitting one click away, making it easy to provide detailed documentation for your contractors using a reliable commercial inspection service. That way, when a plumber asks "do you have a layout of the basement," you're not searching your inbox from three years ago.
Which File Format Should You Actually Keep?
Keep a PDF/A for viewing and archiving, a vector or CAD export (SVG, DXF, or DWG) if editing is ever likely, and raw scan or point-cloud files only if the project might someday need survey-level accuracy. Most homeowners will never touch that last category, but it's worth keeping if you paid for a professional 3D scan.
| Format | Primary use | Who needs it | Storage impact |
|---|---|---|---|
| PDF/A | Long-term viewing and archiving | Homeowners, guests, insurance | Small, lossless |
| SVG/DXF/DWG | Editing dimensions or layout | Contractors, architects | Small to moderate |
| LAS (point cloud) | Survey-grade accuracy, renovation planning | Structural engineers, remodelers | Large, sometimes gigabytes |
| PNG/JPEG | Room photos, quick reference | Everyone | Moderate, compress freely |
Digitization best practices call for archival scans at 300 to 400 DPI when you're converting old paper blueprints, with the PDF/A format reserved for the archive copy and DWG/DXF kept for anything you'll actively edit. Compress your photos freely; they don't need to be pixel-perfect. Never compress a CAD file or point cloud, since you'll lose the precision that made it worth keeping in the first place.
How to Capture a Complete Scan So You're Not Missing Rooms Later
Scan every interior living space, every closet, the basement, stairways, and hallways, and capture all floors into a single model whenever the tool allows it. Missing a closet or a stairwell during capture means someone has to come back to the property later, which costs you time and often money.
Here's a walk-through sequence that works whether you're doing this yourself or watching a professional do it:
- Prepare the space. Clear clutter, open closet doors, and turn on lights in every room.
- Start at the entry and move clockwise through the home, room by room, so nothing gets skipped.
- Check overlap between rooms as you go. Adjacent scans should share visible reference points.
- Capture closets and under-stair storage explicitly. These are the areas people forget most often.
- Verify before you leave. Walk back through your photos or scan preview and confirm every room appears.
If you're doing this solo with a phone or tablet, a fast photogrammetry app is usually enough for a residential floor plan. Polycam's Space mode, for example, builds a 3D scan and an automatic 2D floor plan in one pass, with DXF and LAS exports available if you later need CAD-level detail. For a full walkthrough model meant for real estate marketing or renovation planning, Matterport recommends scanning every floor into one continuous model rather than treating each level as a separate project.
Pro Tip: Label your photos by room name as you go, not after the fact. "Kitchen_North_Wall" beats "IMG_4471" every time you're trying to match a photo to a floor plan six months later.
Packaging Plans for Contractors, Guests, or Insurance Providers
A well-packaged deliverable saves you from the follow-up email asking "can you also send the measurements" three days after you thought you were done. Before you request or send a scan, agree on what "done" actually includes. Sending a raw point cloud to someone who only wanted a printed floor plan wastes everyone's time, and skipping the point cloud when a contractor needed it means a second site visit.
A complete package should include:
- The dimensioned floor plan PDF.
- An editable export (DXF or SVG) if the recipient will need to modify anything.
- The point cloud LAS file, if one exists.
- Labeled photos, organized by room.
- A README with capture date, coordinate units, and any rooms or areas excluded from the scan.
- Contact information for whoever did the original capture.
When you share externally, use password-protected links with an expiration date rather than emailing a raw attachment. If you upload a revised plan later, note what changed and when so nobody works off an outdated version by accident.
How to Keep Floor Plans Safe and Backed Up
Keep at least three copies: your primary vault or cloud storage, a local encrypted external drive, and one offsite backup. Enable versioning wherever your vault supports it, so an accidental overwrite doesn't cost you the only copy you had.
Access control matters as much as backup frequency. Limit editing rights to yourself, use expiring download links when you share with contractors, and check whether your storage platform logs who accessed which file and when.
A few habits worth building into your routine:
- Back up immediately after any new capture or renovation, not on some vague monthly schedule.
- Keep older versions of a plan for at least a year; you'll occasionally need to reference the "before" layout.
- Test a restoration once a year. A backup you've never restored is a backup you don't actually trust.
- Favor a vault with encryption at rest and in transit, since floor plans often reveal security details like alarm panel and entry point locations.
If you're storing original paper blueprints too, keep them in a flat file cabinet away from sunlight and humidity, and skip standard office tape for repairs, which yellows and degrades old paper faster than the paper degrades on its own.
Why a Single Vault Changes How You Deal With Contractors
A plumber once asked me for "anything showing where the water lines run" on a Saturday morning, standing in my kitchen with a flashlight. Instead of digging through old email threads, I pulled up the property record on my phone and sent him the labeled PDF and scope note in under a minute.
That's the actual payoff of organizing plans this way: fewer phone calls spent describing a layout verbally, fewer contractor assumptions that turn out wrong, and insurance claims that move faster because you can produce documentation instantly instead of promising to "look for it." The checklist and naming rules only matter because they make this moment possible.
Let Property Command Center Hold the Plans So You Don't Have To
Property Command Center gives you exactly the structure this article just walked through, minus the setup work. Every property gets its own record with a document vault for floor plans, photos, and scope notes, version history so an old plan never gets accidentally overwritten, and a vendor directory that keeps your contractor's contact info sitting right next to the plan you sent them.
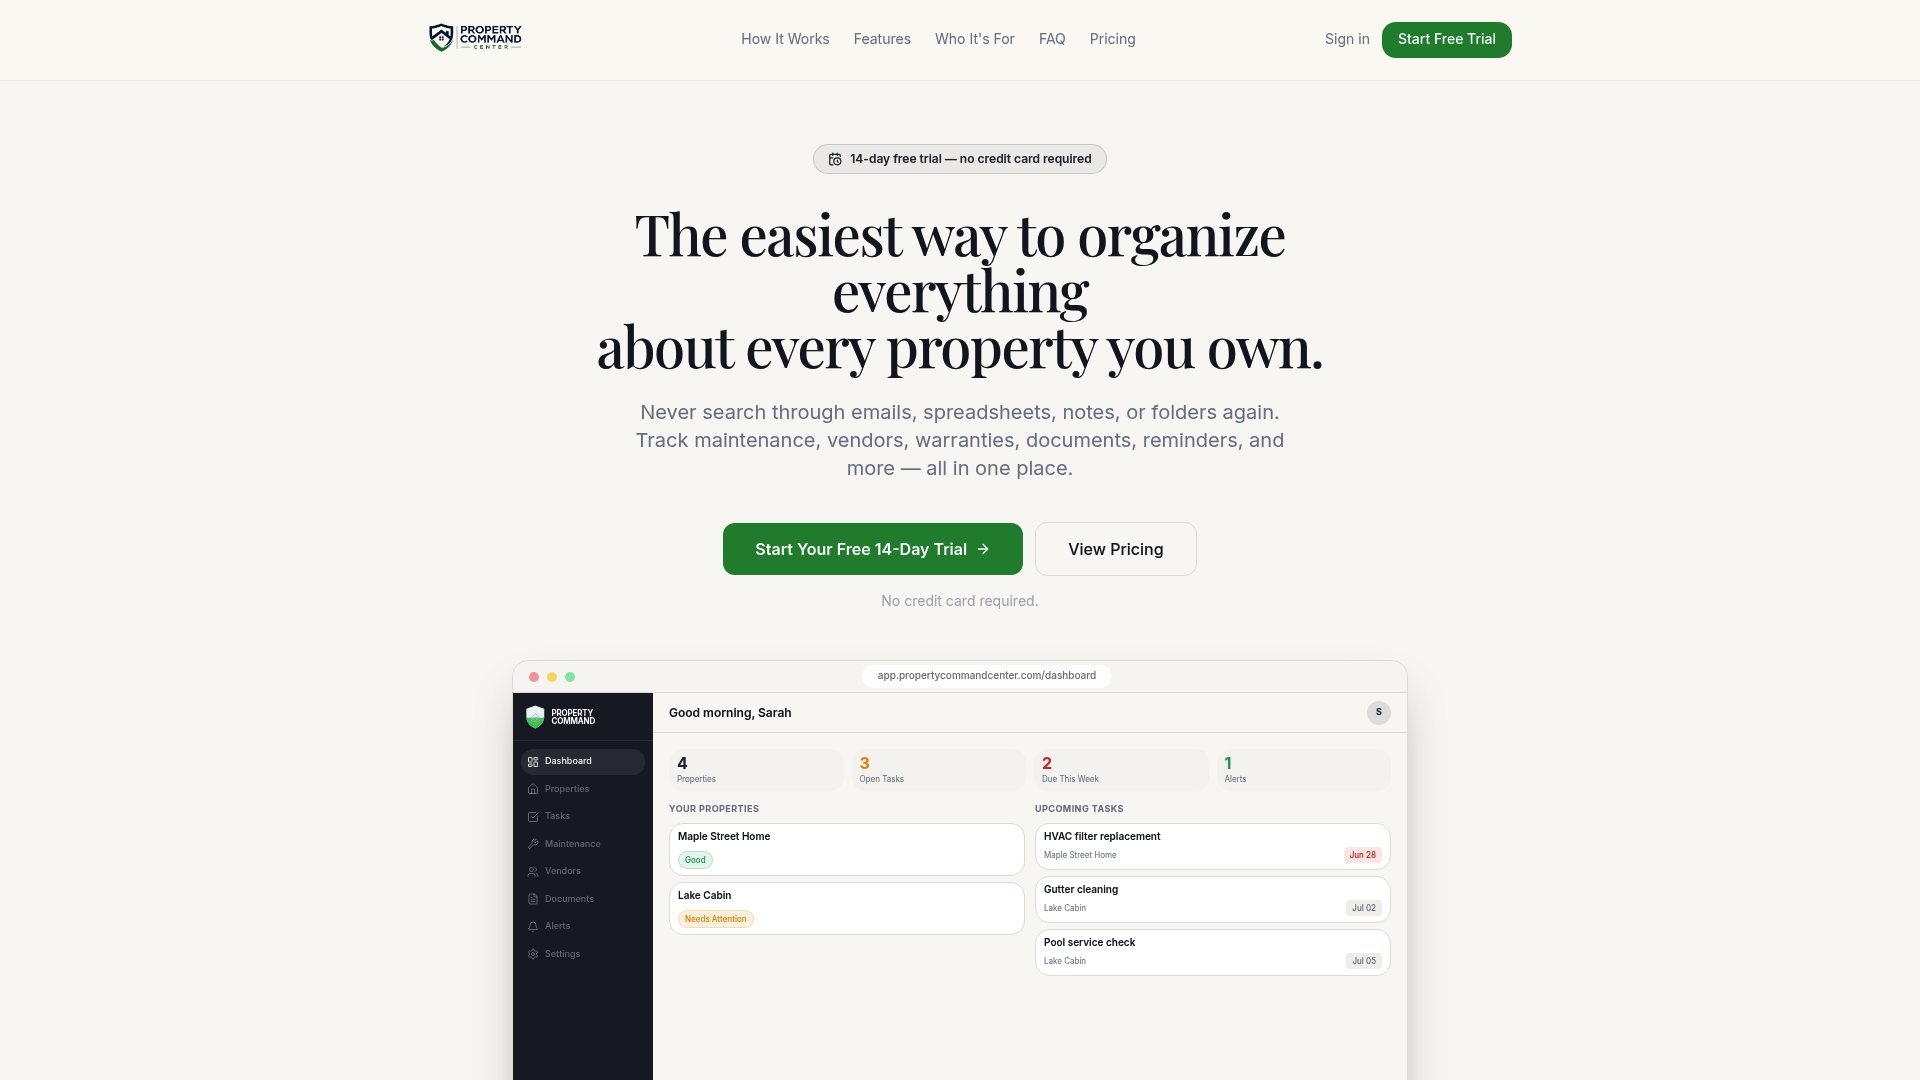
A typical workflow looks like this: upload your PDF and any DXF or photo files to the property record, attach a README, then generate a shareable link when a contractor needs access. Set a task reminder for your next scan or renovation walkthrough, and you'll never wonder again where you left the plans for the lake house.
Start a free trial through onboarding and get your first property's floor plans organized before the week is out. If you're managing several homes, check pricing to see which plan fits how many properties you're tracking.
Sources
- Best Practices for Schematic Floor Plans
- Existing conditions documentation: a guide for architects and engineers
- How To Store Large Format Drawings Properly: A Complete Guide To Flat File Cabinet Setup
Whatever tools you use to capture your plans, prioritize a storage vault with versioning, access controls, and a clear way to link files to each property record.