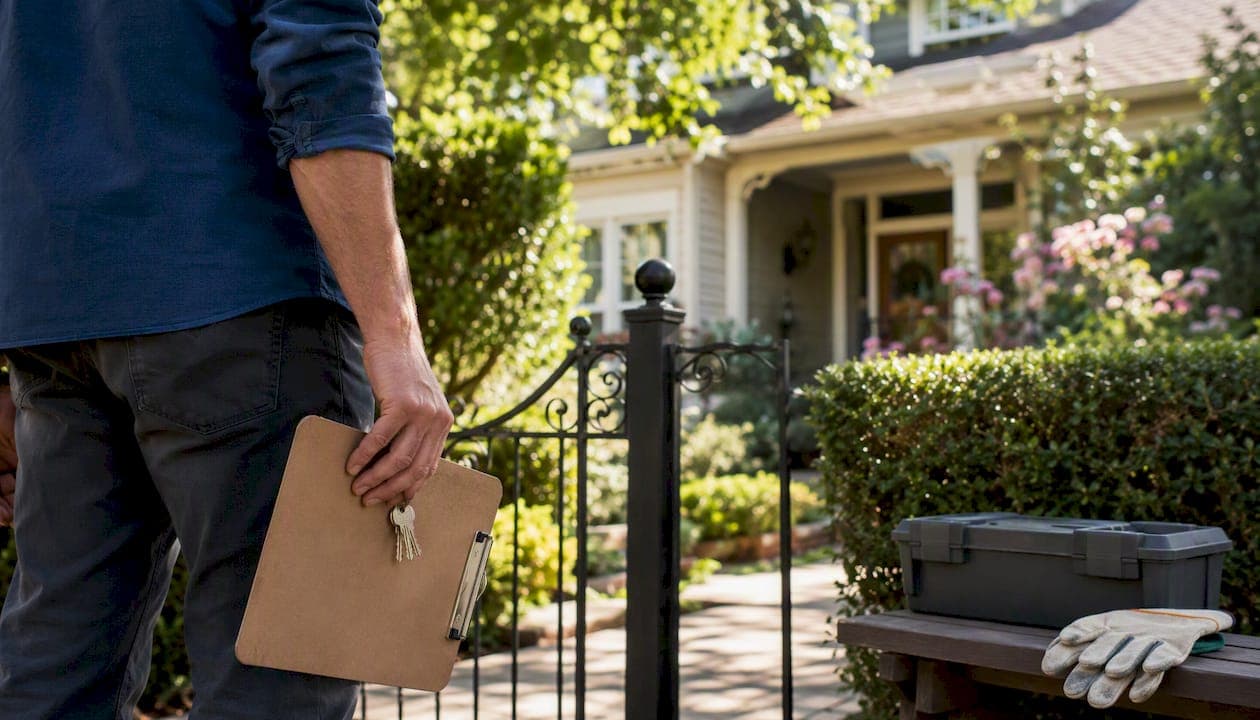
U.S. landlords have the legal right to conduct routine safety and maintenance inspections of their rental properties. The single most important rule: give proper written notice before entering, and document everything you find. Most states require at least 24 hours' advance notice for non-emergency entries, though some jurisdictions require 48 hours or more. Fail that step and even a well-intentioned inspection can expose you to tenant claims of unlawful entry.
Three things you can do right now:
- Send written notice to your tenant before scheduling any walkthrough, using the timeframe your state requires.
- Test every smoke and carbon monoxide alarm during the inspection and note the date and result in writing.
- Photograph all findings with timestamps and save them in a dedicated property file.
General information only. This guide focuses on U.S. landlord-tenant law and is not a substitute for legal counsel. Rules vary significantly by state and city. Verify requirements with your local housing authority or a licensed attorney before acting.
Key Takeaways
Landlord safety inspections require proper written notice, a documented checklist, and a written repair follow-up to be legally defensible and practically effective.
| Point | Details |
|---|---|
| Notice before every entry | Most U.S. states require at least 24 hours' written notice for non-emergency inspections. |
| Life-safety items come first | Check smoke/CO alarms, locks, and egress at every inspection; address failures within 24–72 hours. |
| Document everything in writing | Timestamped photos, checklist notes, and repair invoices form the audit trail that reduces liability. |
| Verify your local rules annually | State and city requirements vary; check your state's landlord-tenant statute and city housing code each year. |
| Mypropertycommandcenter centralizes the workflow | The dashboard tracks schedules, vendor contacts, documents, and alerts across all your properties in one place. |
Table of Contents
- What are your legal rights for landlord safety inspections?
- How to prepare before a property safety check
- What should you check? A landlord inspection checklist
- How to conduct the walkthrough without creating friction
- What to do after the inspection: repairs, notices, and records
- How do state and city rules change your inspection duties?
- How to build a systematic inspection program that protects your assets
- The inspection habits that actually reduce your liability
- Mypropertycommandcenter keeps your inspection program from falling through the cracks
- Sources
What are your legal rights for landlord safety inspections?
Landlords may enter a rental unit for legitimate purposes, including routine safety inspections, repairs, and showing the unit to prospective tenants or buyers, but only with proper advance notice and at a reasonable time. That is the baseline across most U.S. states, though the exact notice window and permitted entry reasons differ by jurisdiction.
In practice, a minimum notice period of about one day is commonly required for non-emergency entries. Washington state's Apps publishes the statutory language governing permissible non-emergency entries under RCW 59.18.150, which requires reasonable notice and specifies that entry must occur at a reasonable time. That statute is a useful model for understanding how most states frame the landlord's right to enter.
Permitted reasons for entry typically include:
- Routine safety or maintenance inspections
- Making repairs or improvements
- Showing the unit to prospective tenants, buyers, or lenders
- Responding to an emergency (no notice required)
- Inspecting after the tenant has given notice to vacate
Emergency entry is the one exception to the notice rule. If there is a fire, a burst pipe, or another immediate threat to life or property, you may enter without notice. Document the emergency and your entry in writing as soon as possible afterward.
Know your state's exact notice window. Some states require 48 hours for routine inspections; others allow 24. A handful of cities layer additional requirements on top of state law. Always confirm the current rule for your specific jurisdiction before scheduling an entry.
Pro Tip: Keep a written notice log. Every time you send an inspection notice, note the date sent, the method (email, text, certified mail), and the scheduled entry date. That log is your first line of defense if a tenant later disputes the entry.
How to prepare before a property safety check
The single best prep step is to review your lease and your state's landlord-tenant statute before you do anything else, then send written notice that includes the date, time window, purpose, and your contact information. That sequence protects you legally and sets a professional tone with the tenant.
Step-by-step notice and scheduling workflow
- Review your lease. Confirm any inspection clauses and the notice period your lease specifies. If the lease is silent, default to your state's statutory minimum.
- Check local law. Look up your state's landlord-tenant statute and your city's housing code. Note the required notice period and any restrictions on entry times (most states limit entry to normal business hours).
- Draft and send written notice. Include: property address, proposed date and time window (e.g., 10 AM–12 PM), purpose of entry (routine safety inspection), and your name and phone number. Email with a read receipt or text message creates a timestamp.
- Confirm with the tenant. Ask if the proposed time works or if they want to be present. Tenant presence is their right in most states; never discourage it.
- Prepare your inspection kit. Bring a printed checklist, a charged phone or camera, a flashlight, a spare smoke alarm battery, and copies of past inspection records.
Documents and tools to bring
- Current lease agreement
- Prior inspection reports (if any)
- Smoke and CO alarm test log
- Flashlight and outlet tester
- Camera or smartphone for timestamped photos
Pro Tip: Create a folder on your phone or computer named by property address and inspection date (e.g., "123Main_2026-03"). Drop every photo and note from that inspection into it immediately. Consistent naming prevents the "which inspection was this?" problem six months later.
What should you check? A landlord inspection checklist
Inspect life-safety systems first, then major mechanical systems, then cosmetic or maintenance items. That priority order reflects both legal exposure and tenant welfare.
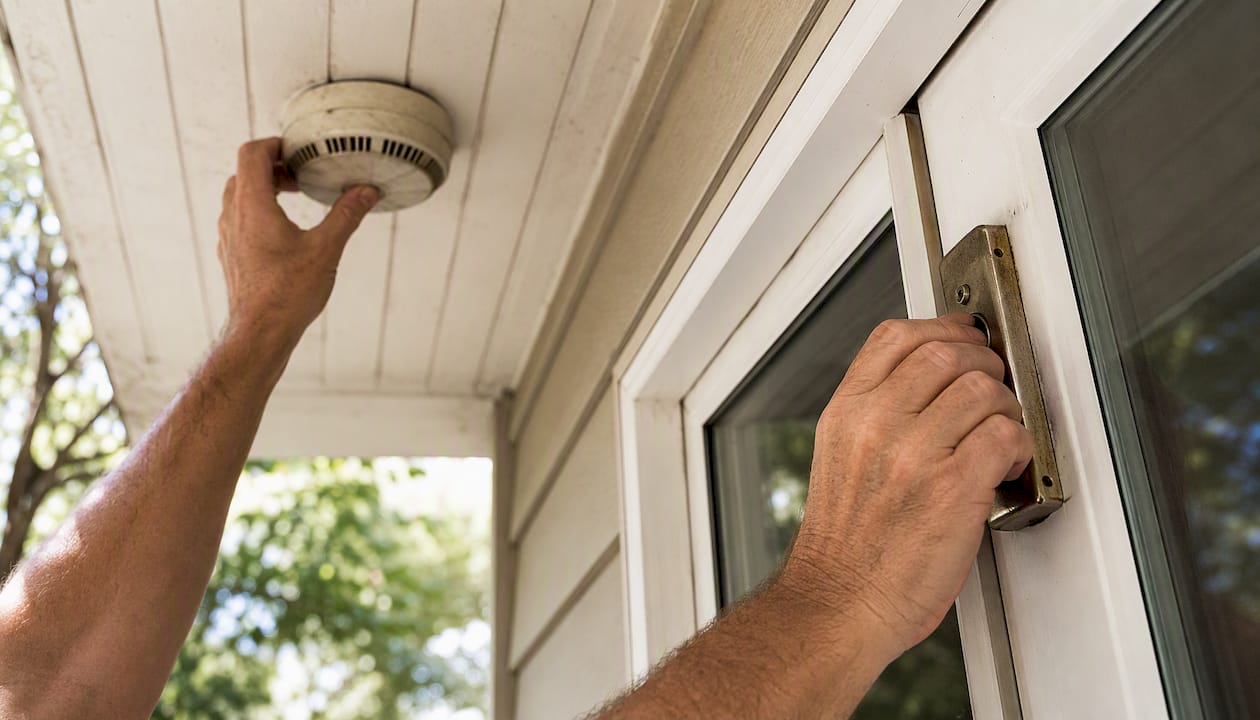
The table below organizes the most common inspection items by location and risk level. Use it as a starting point; your local building code may require additional checks.
| Inspection Item | Location | Risk Level | Notes |
|---|---|---|---|
| Smoke alarms (test each unit) | Interior — every floor | High | Replace batteries; note test date |
| Carbon monoxide alarms | Interior — near sleeping areas | High | Required in most states with gas appliances |
| Door and window locks | Interior | High | Deadbolts, window latches, sliding door bars |
| Egress windows (bedroom) | Interior | High | Must open fully; check minimum size per code |
| Electrical outlets and panels | Interior | High | Look for scorch marks, exposed wiring, overloaded panels |
| Stair handrails and steps | Interior/Exterior | High | Secure, no loose treads |
| Water heater and plumbing | Interior | Medium | Check for leaks, corrosion, proper temperature setting |
| HVAC filters and vents | Interior | Medium | Replace filters; check for blockages |
| Signs of mold or moisture | Interior — bathrooms, basement | Medium | Discoloration, musty odor, soft drywall |
| Signs of pests | Interior | Medium | Droppings, damage, entry points |
| Roof and gutters | Exterior | Medium | Missing shingles, clogged gutters, standing water |
| Exterior stairs and railings | Exterior | High | Secure, no rot or rust |
| Exterior lighting | Exterior | Medium | Functioning at entry points and parking areas |
| Foundation and drainage | Exterior | Medium | Cracks, pooling water near foundation |
The Rental Safety Inspections page for Bellingham, WA lists the specific items municipal inspectors check, including smoke detectors, egress, plumbing, and electrical hazards. Cross-referencing your checklist against your city's published inspection criteria is one of the fastest ways to close compliance gaps.
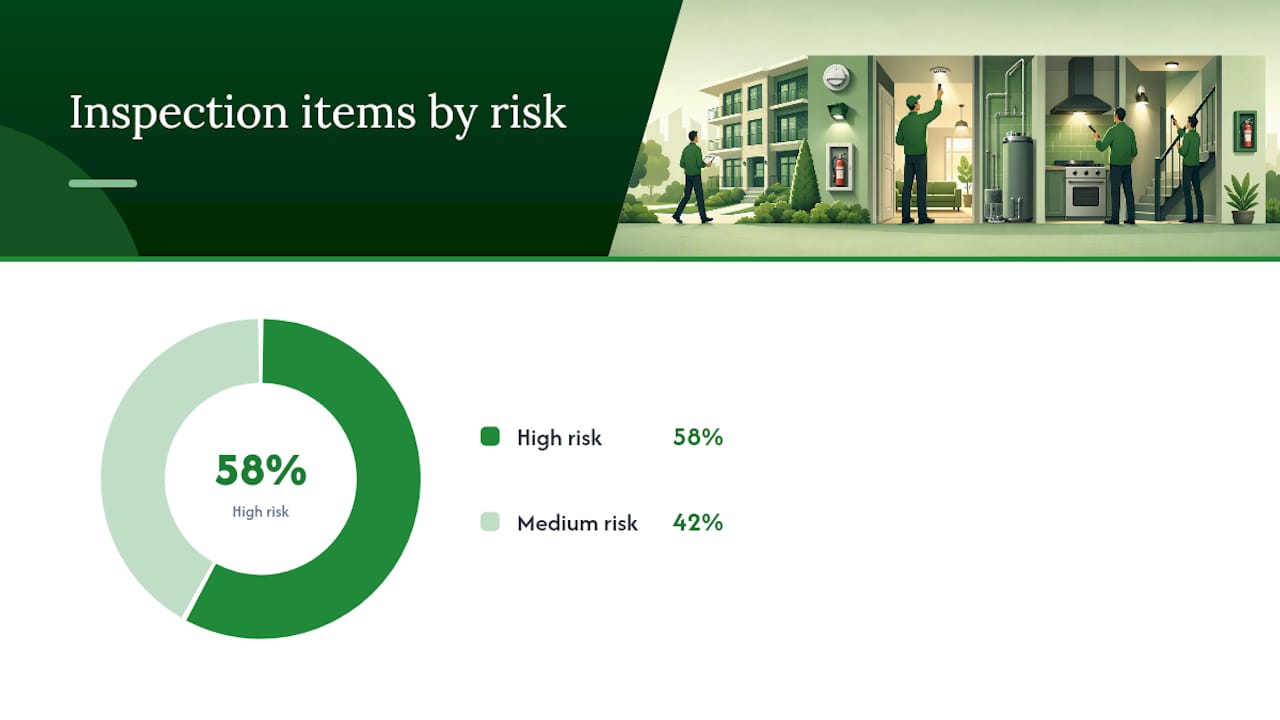
Priority key: High-risk items affect immediate tenant safety or carry the greatest legal exposure. Address them within 24–72 hours of discovery. Medium-risk items should be resolved within 30 days. Document both categories in writing regardless of timeline.
For electrical issues beyond a simple outlet test, a licensed electrician should conduct a formal rental property electrical inspection to identify wiring hazards that a visual walkthrough can miss.
How to conduct the walkthrough without creating friction
Start by introducing yourself at the door, stating the purpose of the visit, and showing the tenant a copy of the notice if they are present. That 30-second opener sets a professional tone and signals that you are there to maintain the property, not to surveil the tenant.
Language for common situations
Tenant is present: "Hi [name], I'm here for the routine safety inspection we scheduled. I'll be checking the smoke alarms, locks, and a few other safety items. You're welcome to walk with me. It should take about 20–30 minutes."
Tenant is absent (entry with notice): Leave a brief written note inside the door: "Safety inspection completed on [date] at [time] by [your name]. Please contact me at [phone] with any questions."
Minor issue found: "I noticed the smoke alarm battery is low. I'll replace it now and note it in the report. I'll send you a written summary after the inspection."
Serious hazard found: "I'm seeing what looks like a significant electrical issue near the panel. I'm going to stop the inspection here and get a licensed electrician in within 48 hours. I'll send you written notice of the issue and the repair timeline today."
Documentation best practices
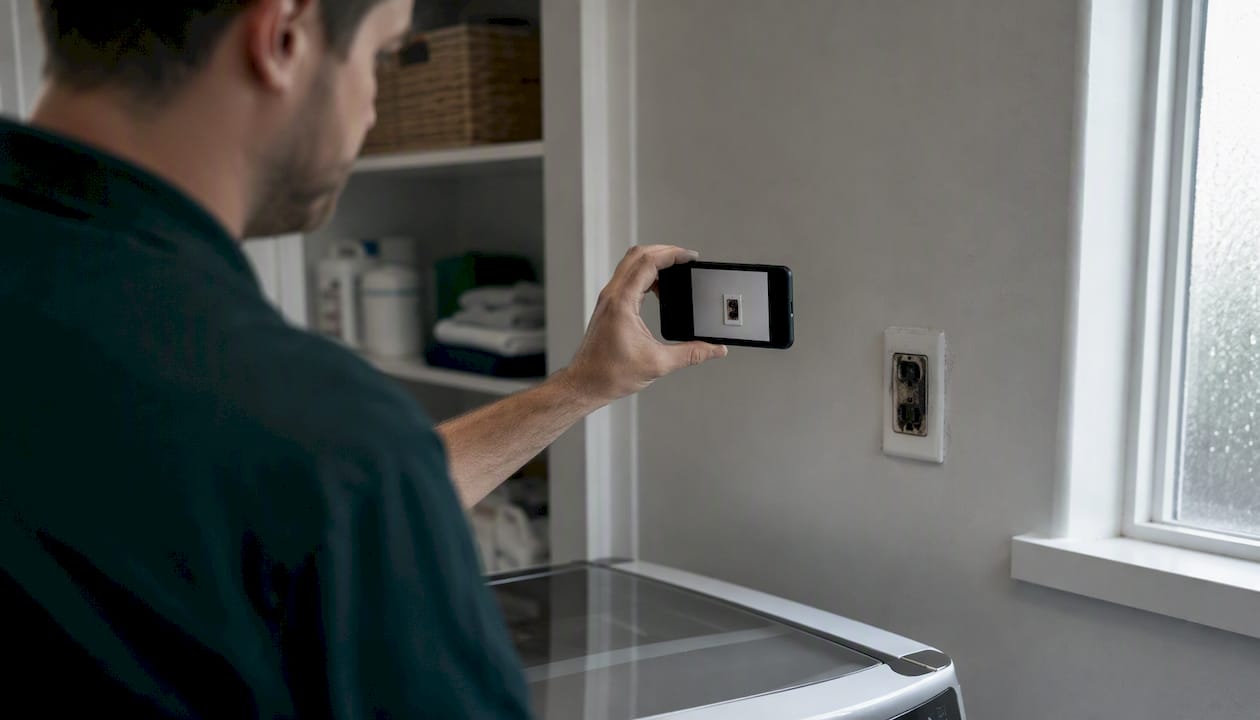
Take photos before touching anything. Label each file with the room and item (e.g., "kitchen_outlet_scorch_2026-03-15.jpg"). Write a brief note for each checklist item, even when it passes, so the record shows you checked it. A checklist with only flagged items looks incomplete; a checklist with "OK" entries alongside issues looks thorough.
When you need to escalate to a licensed contractor or inspector, note the handoff in your records: the date you identified the issue, the contractor you contacted, and the date they confirmed the appointment. That chain of documentation matters if a code inspector later asks when you became aware of a problem.
Pro Tip: Use your phone's built-in timestamp feature or a free app like Google Photos, which automatically records date, time, and location metadata on every image. That metadata is harder to dispute than a handwritten date.
What to do after the inspection: repairs, notices, and records
The most important post-inspection task is putting your findings and a repair timeline in writing, both to the tenant and in your own files. A verbal conversation is not a record.
Prioritizing repairs and reasonable timelines
Treat repairs the same way you treated the inspection: life-safety items first.
- Immediate (within 24–72 hours): Non-functioning smoke or CO alarms, broken locks, exposed electrical wiring, no heat in winter, active water leaks.
- Short-term (within 7–14 days): Faulty HVAC, minor plumbing leaks, broken window latches, damaged handrails.
- Scheduled (within 30 days): Cosmetic damage, worn weatherstripping, gutter cleaning, minor pest prevention.
Sample follow-up communication
A follow-up email to the tenant after the inspection should include:
- Date of inspection
- Summary of findings (pass/fail per item)
- Any issues found and the planned repair timeline
- Contractor name and expected visit date for any escalated repairs
- Your contact information for questions
Keep a copy of every follow-up email in your property file. If a repair requires a licensed contractor, retain the invoice, any before-and-after photos, and the contractor's certificate of insurance. Guidance on collecting and verifying those certificates is covered in this contractor certificate of insurance guide.
For rental dwelling properties, pairing solid inspection records with appropriate rental dwelling unit insurance creates a layered risk-transfer strategy that protects you when documented hazards still result in claims.
Document retention recommendations
| Record Type | Suggested Retention Period |
|---|---|
| Inspection reports and checklists | 3 years minimum (or lease term + 1 year) |
| Repair invoices and contractor certificates | 3 years after repair completion |
| Tenant notice copies | Duration of tenancy + 3 years |
| Before/after inspection photos | Duration of tenancy + 3 years |
| Safety certificate renewals (smoke, CO, HVAC) | Life of certificate + 3 years |
These retention windows align with common statutes of limitations for landlord-tenant disputes in most U.S. states, though your state may require longer periods. Check your state's specific rules.
How do state and city rules change your inspection duties?
Inspection rights and required certificates vary significantly by state and city. What is optional in one jurisdiction is mandatory in another, and the penalties for non-compliance range from fines to loss of rental license.
The core research step is straightforward: go to your state legislature's website, search for your state's landlord-tenant act, and read the entry and notice provisions. Then check your city or county's housing department website for any local overlay rules.
Washington state is a useful model. RCW 59.18.125 authorizes local municipalities to require rental inspections and certificates of inspection as conditions of rental licensing, and specifies frequency, notice requirements, appeals processes, and penalties. If your city has a rental licensing program, a similar statute likely governs it.
Bellingham, WA is a concrete example of how municipal requirements can exceed state minimums. The city's rental safety inspection program requires pre-rental inspections covering smoke detectors, egress, plumbing, and electrical hazards before a unit can be legally rented. Landlords who skip that step do not just face a fine; they may be operating an unlicensed rental.
For scheduling questions or to understand what a local building department will check, the San Gabriel, CA building inspections page shows how a typical municipal building department publishes its process, contact information, and inspection scope. Most cities have an equivalent page.
Search terms that work: "[Your city] rental inspection requirements," "[Your state] landlord tenant act entry notice," "[Your county] housing code inspection certificate." If you find conflicting information between a city ordinance and a state statute, the more restrictive rule generally applies to you.
Capture local requirements in a simple reference document: required notice period, permitted entry hours, any mandatory certificates (smoke alarm compliance, habitability certificate), and renewal dates. Review it every January and whenever you add a property in a new jurisdiction.
How to build a systematic inspection program that protects your assets
Inspections work best when they are part of a documented schedule mapped to risk levels and legal minimums, not something you remember to do when a tenant complains. The difference between reactive and proactive landlords usually shows up in their records, not their intentions.
Here is how to build a repeatable program:
- Create a master inspection list. For each property, list every required inspection type (routine safety, turnover, HVAC service, pest prevention), the required frequency, and the next due date. A spreadsheet works; a dedicated property dashboard works better.
- Set intervals by risk. Life-safety items (smoke/CO alarms, egress, locks) warrant at least annual checks plus a check at every tenant turnover. Major systems (HVAC, electrical, plumbing) follow manufacturer service intervals or local code, whichever is more frequent. Cosmetic items can be folded into annual walkthroughs. Inspection scheduling guidance from industry sources consistently emphasizes risk-based intervals and digital scheduling to prevent missed checks.
- Build in certificate renewal reminders. If your city requires a rental inspection certificate, note the expiration date and set a reminder 60 days out. The same applies to HVAC service contracts, fire extinguisher certifications, and any other time-limited compliance document.
- Document your vendor network. For each property, keep a list of licensed contractors for electrical, plumbing, HVAC, and pest control, along with their license numbers and certificate of insurance expiration dates. When an inspection flags an issue, you want to make one call, not spend an hour searching.
- Use certified inspectors for high-stakes items. Electrical panels, gas lines, and structural elements should be assessed by licensed professionals, not just observed during a walkthrough. Their written reports carry weight with code inspectors and in court.
- Centralize everything. Scattered notes, emails, and spreadsheets across multiple properties create gaps. A property management dashboard that consolidates schedules, documents, vendor contacts, and alerts in one place reduces the chance of a missed inspection or an expired certificate slipping through. For landlords managing short-term rental compliance, centralized tracking is especially valuable given the faster turnover cycles and stricter municipal oversight those properties often face.
The inspection habits that actually reduce your liability
Most landlord liability does not come from ignoring obvious hazards. It comes from documented hazards with no documented response. A tenant who can show you knew about a broken handrail three months before they fell has a much stronger case than one who cannot prove you were ever told.
That reframes the whole exercise. The inspection itself is not the protection. The record of the inspection, the follow-up notice, the repair invoice, and the before-and-after photos, that paper trail is what protects you. Landlords who treat inspections as a compliance checkbox and skip the documentation are doing most of the work for none of the legal benefit.
The second thing most guides understate: tenant relations matter more than the checklist. A tenant who trusts that you are inspecting to maintain their home, not to find lease violations, will cooperate with scheduling, report problems early, and be less likely to dispute your findings. The scripted language in the walkthrough section of this guide is not just politeness. It is risk management.
For owner-operators managing a small portfolio without a property management company, the practical priority list is short: give proper notice every time, test life-safety systems at every inspection, document findings and repairs in writing, and verify your local rules once a year. Everything else builds on those four habits.
Mypropertycommandcenter keeps your inspection program from falling through the cracks
Tracking inspection schedules, repair timelines, vendor certificates, and safety documents across even two or three properties gets unwieldy fast. Mypropertycommandcenter is built for exactly that situation: individual owners and families managing multiple properties who need one place to see what is due, what is done, and who to call.
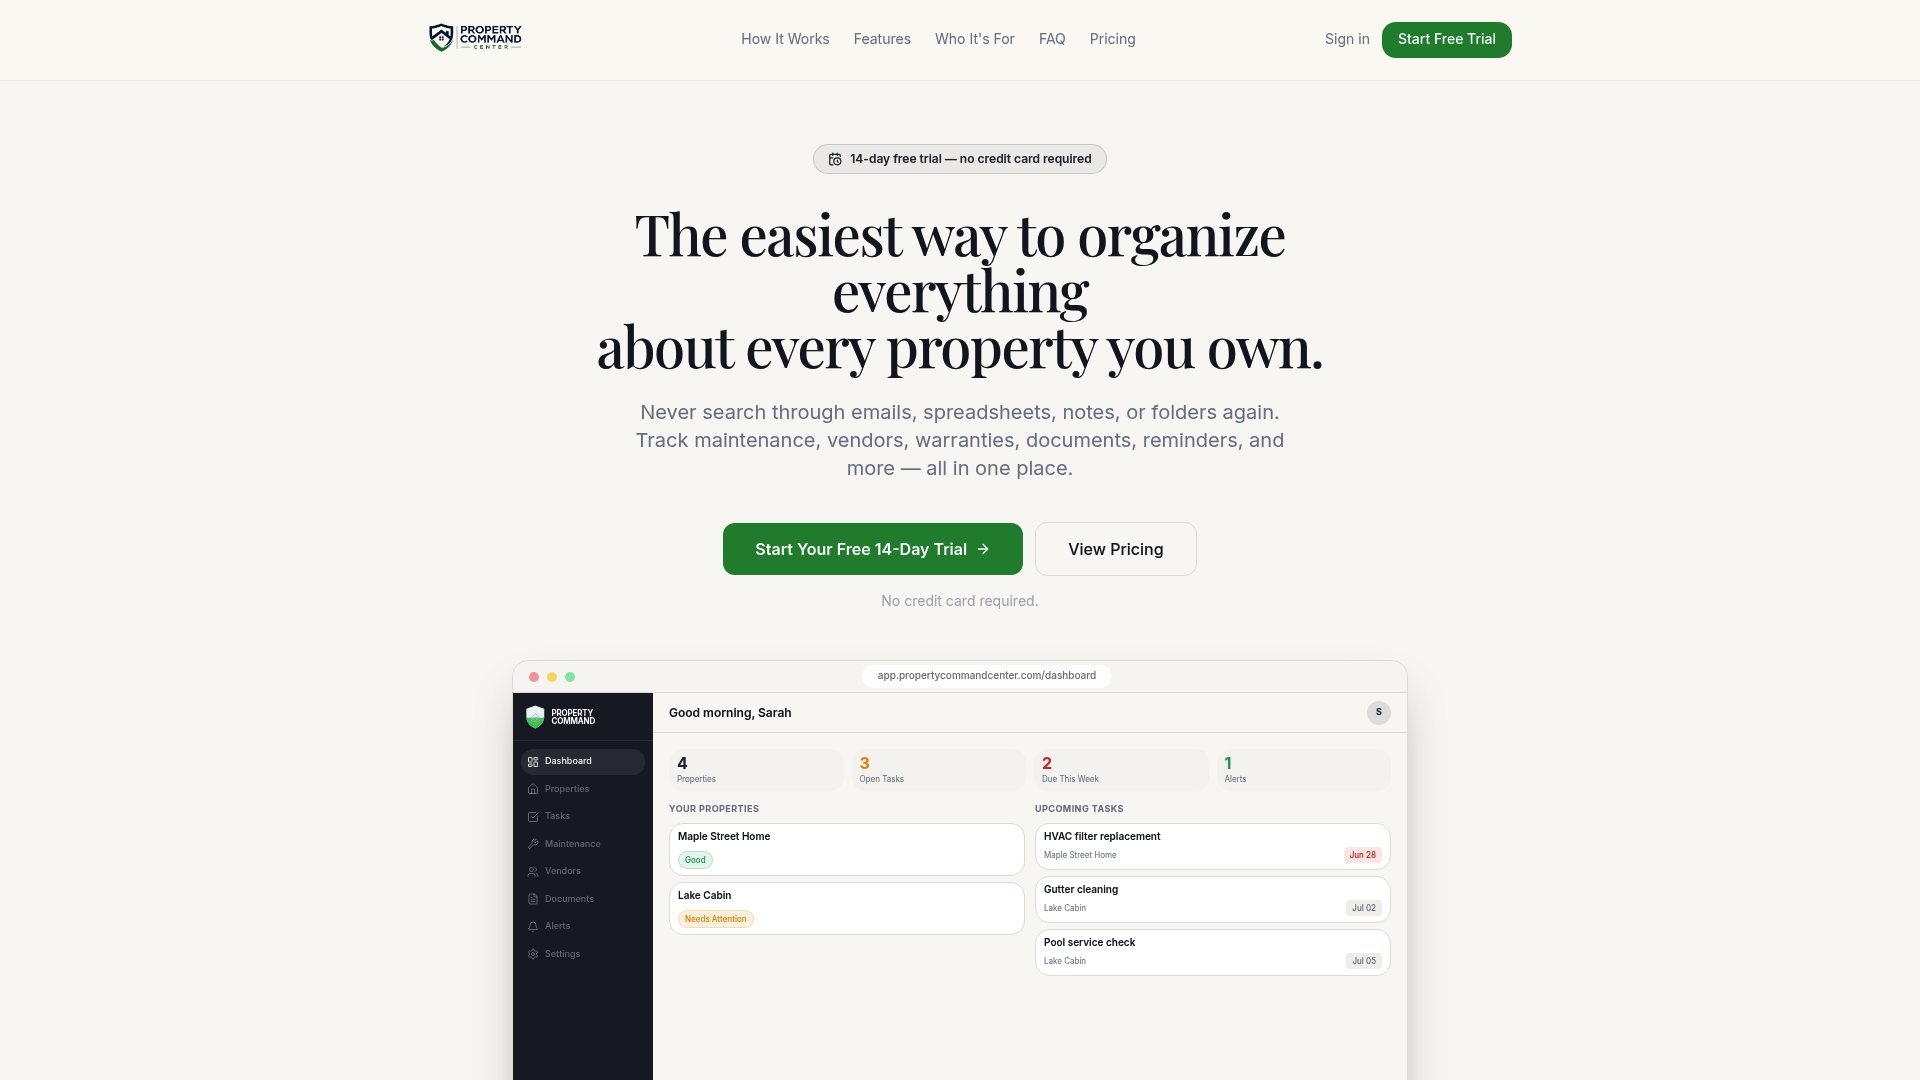
The dashboard consolidates your maintenance schedules and task reminders, a vendor directory with contractor contacts and insurance details, a document vault for inspection reports and safety certificates, and smart alerts that flag upcoming inspections and expiring certificates before they become compliance problems. No complex software, no steep learning curve.
Statutory inspection duties remain yours as the landlord. Mypropertycommandcenter organizes the workflow so nothing gets lost. Start your 14-day free trial at Mypropertycommandcenter, no credit card required.
Sources
The four sources below are the primary references used in this guide. Each links to an official statute or municipal page you can use as a model for finding equivalent rules in your own jurisdiction.
To find your own state's rules: Search "[state name] landlord tenant act" on your state legislature's website, or go directly to your state's official code site (most follow a pattern like "leg.[state].gov" or "legislature.[state].gov"). For city rules, search "[city name] housing department rental inspection requirements."