
A complete rental make ready follows one ordered flow: documented inspection, then safety and habitability fixes, then repairs, then paint and flooring, then a deep clean, and finally a signed move-in report backed by dated photos. Start by walking the unit and building a punch list the day you get the keys back. Skipping the order, especially cleaning before repairs, creates rework and adds vacancy days you don't need.
TL;DR:
- Ensuring safety and habitability items are fixed first prevents costly rework, especially detectors, locks, and electrical hazards, before cosmetic repairs begin.
- A detailed, room-by-room checklist for appliances, plumbing, electrical, and safety features reduces tenant complaints and avoids overlooked issues during turnover.
- Conducting a pre-move-out inspection 7 to 14 days before vacancy allows for timely repairs and ordering materials, speeding up the overall turnaround.
- Deep cleaning should be scheduled after repairs and painting to preserve a fresh look in listing photos, with consistent lighting and staged touches to enhance appeal.
- Using a property management dashboard helps organize task lists, vendor contacts, and documentation, streamlining multiple unit turnovers and tracking compliance.
Table of Contents
- The step-by-step make ready process
- Room-by-room checklist for a rental turnover
- Safety, habitability, and lead disclosure requirements
- Systems and appliances checklist before move-in
- Deep cleaning, staging, and photo documentation
- Timeline and budget for a fast turnaround
- Final QA, records, and the move-in condition report
- Keeping tenants informed about make ready status
- Why habitability comes before anything cosmetic
- A dashboard for owners who'd rather not track this by spreadsheet
- Sources
- FAQ
The step-by-step make ready process
Sequence matters because each phase depends on the one before it. Paint before floors and you scuff the new finish; clean before repairs and you're dusting drywall twice. A rent-ready sequence built around punch list, safety, repairs, paint, floors, clean, and photos is the workflow most turnover guides converge on, and it minimizes both rework and the time a unit sits empty.
Here's how the phases break down in practice:
- Inspect and document. Walk every room, photograph existing damage, and build a written punch list before any vendor touches the unit.
- Fix safety and habitability items. Detectors, locks, and electrical hazards get resolved before anything cosmetic.
- Complete repairs. Plumbing leaks, broken fixtures, and structural issues come next, while walls are still open for paint.
- Paint and address flooring. Touch up or repaint, then handle flooring so fresh paint doesn't get tracked or scuffed.
- Deep clean. Cleaning goes last so it isn't undone by dust from repairs or paint.
- Run systems checks and final QA. Confirm HVAC, water heater, and appliances work, then do a last walk before listing.
Schedule a pre-move-out inspection 7 to 14 days before the lease ends so you can order parts and line up contractors before the unit is even empty. Many owners track status on a make-ready board, whether that's a whiteboard or a digital dashboard, so nothing stalls waiting on a vendor who forgot the schedule.
Room-by-room checklist for a rental turnover
A phase-based workflow tells you when to work. This tells you what to actually check once you're standing in each room.
- Kitchen: test every appliance through a full cycle, tighten or replace loose cabinet hardware, re-caulk around the sink, and confirm outlets near water sources are GFCI-protected.
- Bathrooms: check grout and caulk for mold or gaps, flush toilets to rule out running valves, run the vent fan, and test GFCI outlets.
- Bedrooms and living areas: check door closers and hinges, confirm smoke and carbon monoxide detectors are placed and working, test closet doors and tracks, and swap any mismatched bulbs for a uniform color temperature.
- Entry and exterior: re-key or rekey locks, test exterior lighting, walk the path for trip hazards like heaved concrete or loose steps, and trim landscaping so the curb view matches the listing photos.
None of these takes long individually, but skipping one is usually what shows up as a tenant complaint in the first month. A running toilet or a dead porch light doesn't cost much to fix now. It costs a maintenance call and a frustrated tenant later.
Safety, habitability, and lead disclosure requirements
Some items aren't optional. Test every smoke and carbon monoxide detector, replace batteries or units that fail, and log the date and result for your records. Re-key locks between tenants and confirm every bedroom window and door meets basic egress standards. Test GFCIs in kitchens, bathrooms, and any outlet near water, and replace anything scorched or loose.
One rule with real legal weight: for housing built before 1978, EPA renovation guidance requires landlords to distribute the "Protect Your Family From Lead in Your Home" pamphlet before renovations that disturb painted surfaces, confirm receipt, and retain that documentation for three years. A 7-day mailing option exists when in-person delivery isn't practical. Skipping this step isn't a cosmetic oversight, it's a compliance gap.

Systems and appliances checklist before move-in
Run these checks before you call the unit ready:
- HVAC: replace the filter, run a full heating and cooling cycle, and schedule service if you notice a burning smell or weak airflow.
- Water heater: check for leaks at the base and fittings, confirm the delivered water temperature is safe, and inspect the drain valve for corrosion.
- Electrical: test every GFCI outlet, replace any outlet that's loose, warm, or scorched, and confirm all fixtures hold a working bulb.
- Appliances: run each supplied appliance through a cycle, clean interiors thoroughly, and keep warranty or service receipts on file.
Deep cleaning, staging, and photo documentation
Cleaning goes last for a reason: it's the only phase that shows in every listing photo, and painting or repair work after a clean means doing it twice. A professional turnover deep clean scheduled after repairs and paint tends to deliver the strongest return on the work because it preserves the finished look right through to listing day.
For photos, shoot every room wide, then add a few detail shots, and keep bulb color consistent across the unit so photos don't look mismatched room to room. Turn on every light before you shoot, even in daylight, and save files with the date in the filename so you have a record tied to that specific turnover.
Pro Tip: Stage with a few neutral touches, a folded towel, a bare countertop, an unplugged air freshener out of frame, rather than furniture. It reads as move-in ready without the cost of a full staging package.
Timeline and budget for a fast turnaround
Turnover is frequent enough in rental housing that most management teams target a same-week or 3 to 7 day turn whenever the unit's condition allows it.
- Pre-move-out inspection: done 7 to 14 days before the tenant leaves, so repairs can be quoted and materials ordered ahead of the actual vacancy.
- Designated move-out day: the punch list starts the same day keys are returned, not days later.
- Vendor sequencing: repairs and paint are scheduled back to back, with cleaning booked for the final one or two days.
A sequenced checklist, shared with every vendor, keeps a painter from showing up before a plumber has finished, which is one of the most common causes of an extra week added to a turn.
Final QA, records, and the move-in condition report
Run an internal QA pass once the unit looks finished: check every room against the original punch list, collect final invoices, and confirm nothing was missed. Then walk the unit again with the incoming tenant and get a signed move-in condition report. A two-layer QA process, internal review followed by a tenant walkthrough with photos, catches issues a single pass tends to miss.
- Keep dated photos and paid invoices from every vendor involved in the turn.
- Retain lead-disclosure pamphlets and renovation notices for the required retention period.
- Store the signed move-in report where you can pull it quickly if a deposit dispute comes up later.
Good records don't just protect a deposit. They tell you what actually gets replaced every turnover, which shapes next year's maintenance budget.
Keeping tenants informed about make ready status
Prospective tenants who toured the unit during a prior lease, or who applied while it was still occupied, benefit from a short update once the make ready work starts. A simple message confirming the target move-in date, and flagging if that date shifts, avoids the awkward situation of a tenant showing up to a unit that's still mid-repair.
If repairs run longer than expected, tell the incoming tenant as soon as you know, not the day before the lease starts. A one or two day delay handled with notice rarely causes friction. The same delay discovered on move-in day damages trust before the lease even begins.
For tenants who submitted a move-out notice, a brief confirmation that their unit's turnover has started, along with a reminder of any final walkthrough scheduling, helps close out that lease cleanly. It also gives you a documented timeline if a dispute over the move-out condition comes up later.
Keep the language plain: a target date, a point of contact for questions, and a note if anything changes. Tenants don't need the full punch list, just enough information to plan their own move around it.

Why habitability comes before anything cosmetic
Fresh paint doesn't matter if a smoke detector doesn't work. Prioritizing safety first isn't just lower legal risk, it's usually the cheaper path too, since a habitability complaint after move-in costs far more than a $12 detector caught during inspection. A sequenced checklist file with a dedicated photo folder for each turn is the single habit that keeps this order from slipping under deadline pressure.
— Francisco
A dashboard for owners who'd rather not track this by spreadsheet
If you're managing more than one property, keeping punch lists, vendor numbers, and photo folders straight across units gets messy fast. A property management dashboard can organize that work in one place, built for owners rather than property management firms, so there's no complex setup to learn.
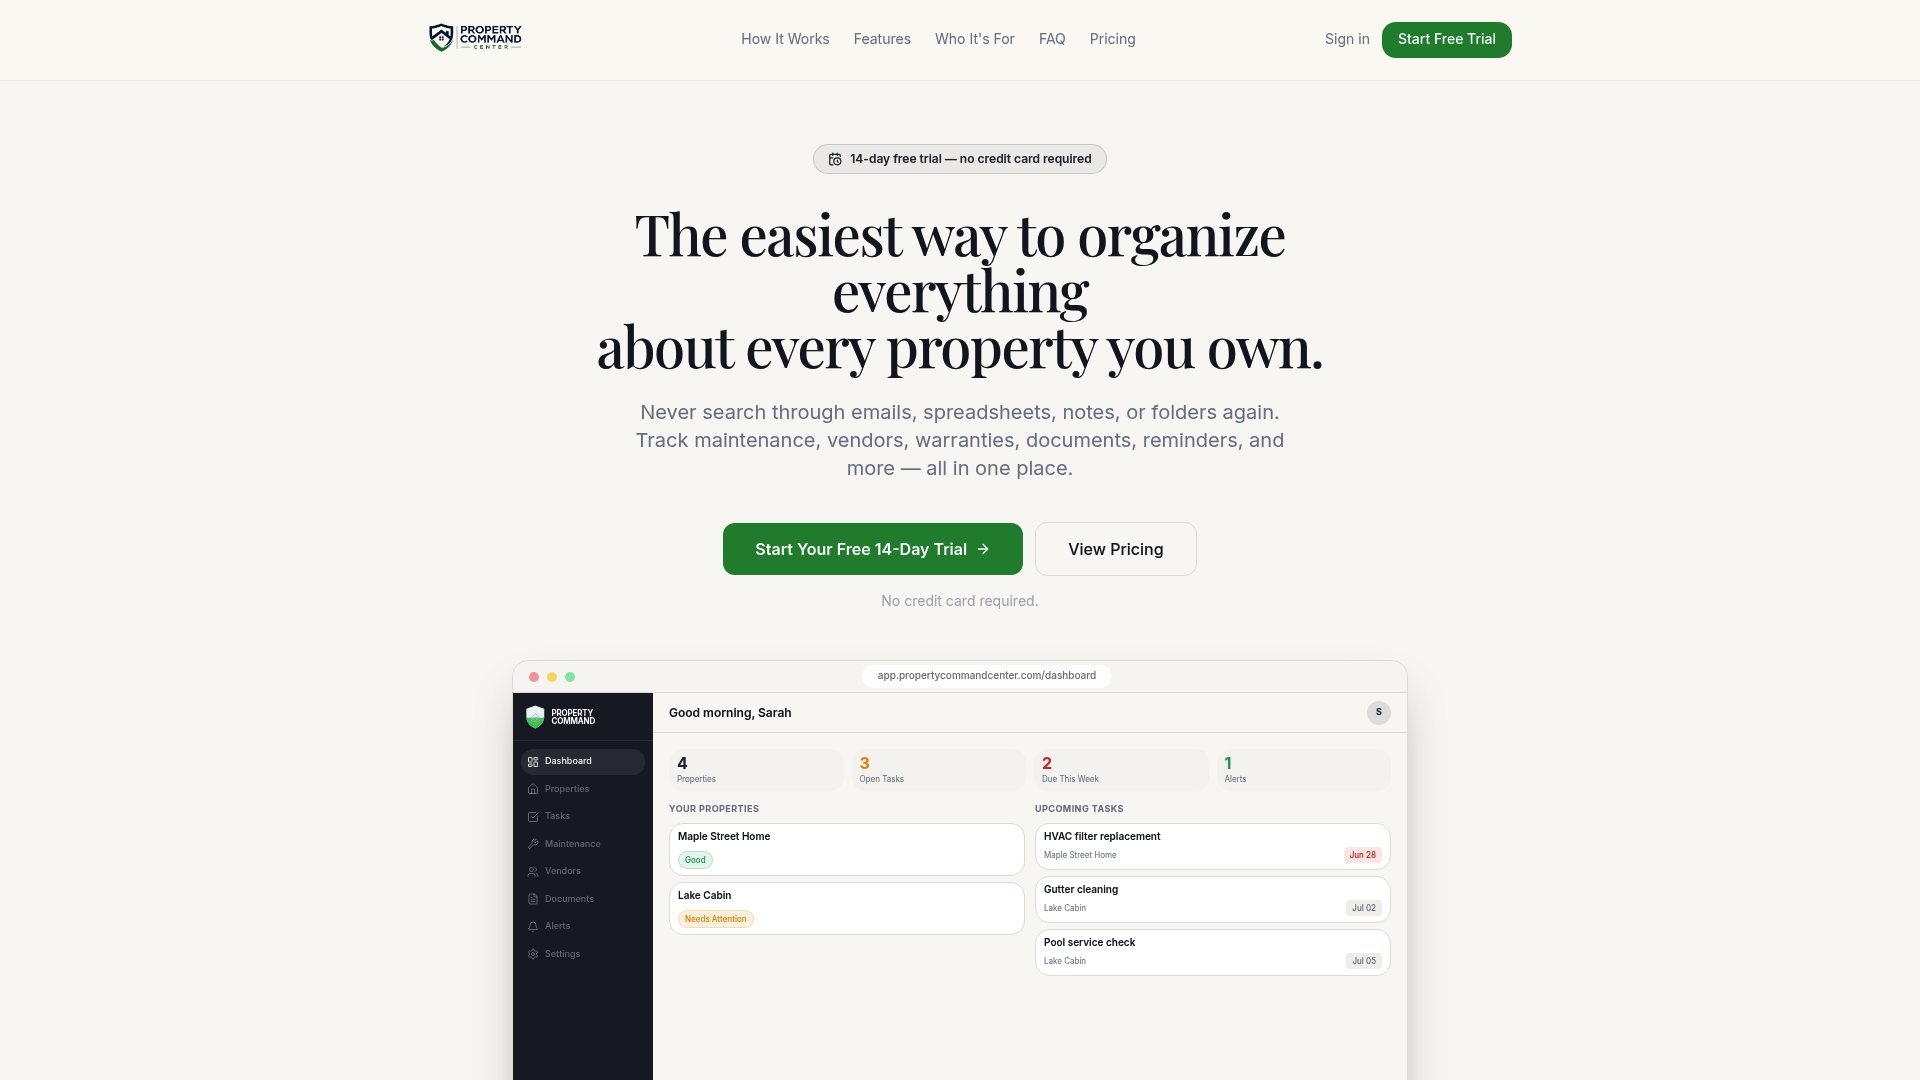
- Task lists track each phase of a turn from inspection through final QA.
- Vendor contacts stay in one directory instead of scattered texts and emails.
- Document storage holds photos, invoices, and inspection records by property.
A typical flow looks like this: build the pre-move-out checklist, assign each item to a vendor, and check off the final QA once photos are uploaded. Check the Starter and Pro plans or browse the vendor directory if you're ready to try a tool-based approach to your next turn.
Sources
- How to Prepare a Rental Property (make-ready guide)
- EPA guidance on lead pamphlet / PRE requirements
FAQ
What is included in an apartment make ready?
An apartment make ready covers a documented inspection, safety and habitability fixes, repairs, paint and flooring work, a deep clean, systems checks, and a final walkthrough with photos before a new tenant moves in. The recommended sequence runs roughly in that order to avoid redoing finished work.
What are red flags for tenants?
Red flags include detectors that don't work, doors or windows that don't lock or open properly, and signs of pest activity or water damage left unaddressed. A unit with strong odors, visible mold, or exposed wiring signals the owner skipped the safety and habitability phase of the turnover.
What should I include in a rental property walkthrough checklist?
A walkthrough checklist should cover every room's safety items, appliance function, plumbing and electrical checks, and cosmetic condition, paired with dated photos of each space. Pairing an internal QA pass with a tenant walkthrough and a signed condition report gives both sides a clear record.
What will fail an apartment inspection?
Nonworking smoke or carbon monoxide detectors, doors and windows that don't lock or open for egress, exposed or scorched wiring, and active leaks are common failure points. Missing lead disclosure documentation for pre-1978 housing, when required under EPA rules, is also treated as a compliance failure rather than a cosmetic one.