
A small, consistent tracking set, timestamps, photos, completion status, and a payment record, plus one dashboard to hold it all, is enough for most owners to monitor vendor responsiveness and quality across several properties. You do not need procurement software or a spreadsheet with forty columns. Start with one property this week, log the next three vendor jobs using the fields below, and you will already see who shows up on time and who does not.
TL;DR:
- Vendors should respond within half an hour to one hour for urgent issues, within two days for repairs, and within two weeks for routine tasks; consistent misses indicate poor performance.
- Standardized job IDs and photo folder naming conventions help track and compare vendor responsiveness and quality across multiple properties with minimal effort.
- Verifying a vendor’s insurance through direct insurer confirmation and checking active registration protect against liability and lapses during construction.
- Keeping payment records aligned with job details ensures you can detect late payments or disputes that affect vendor reliability.
- Using a simple scoring system based on timeliness, quality, and communication over a 90-day window helps identify patterns and decide when to rehire or replace vendors.
Table of Contents
- What to record on every vendor job
- Low-effort systems for capturing this data
- Response time bands you can actually use
- Verifying a contractor before you hand over keys
- Keeping payment history next to the job record
- A simple scoring method for judging vendor reliability
- Rolling this out over 90 days without overwhelming yourself
- Why a single dashboard removes most of the friction
- See how the checklist works inside one dashboard
- Where to verify vendor licenses and insurance
- Sources
- FAQ
What to record on every vendor job
Vendor performance tracking works only when the data is comparable from one job to the next. That means using the same fields every time, no matter which property or which vendor.
- Request timestamp: when you or a tenant first reported the issue, so you can measure response speed.
- Vendor assigned: the name of the contractor or company, spelled the same way every time.
- Scheduled arrival: the window the vendor promised, used to catch pattern lateness.
- Actual arrival and finish time: what really happened, not what was planned.
- Cost: the amount billed, matched later to the invoice.
- Photos before and after: proof of condition and workmanship.
- Follow-up needed: yes or no, with a short note if the job was not fully resolved.
Six to eight fields are enough. Anything more and most owners abandon the habit within a month.
Low-effort systems for capturing this data
You do not need new software to start. Most owners can build a working system with tools they already have.
- Send every vendor request by text or email so the timestamp exists automatically, then forward or copy it into a shared Google Sheet.
- Create a photo folder per property, with subfolders named by job ID, so before-and-after shots stay attached to the right entry.
- If you want something a step up, a free form builder that attaches photos to a submission gives you a mobile-friendly work order without the learning curve of a full property management app.
- Add a simple calendar reminder for any job marked "follow-up needed" so it does not disappear into your inbox.
The part owners skip, and later regret, is standardizing job IDs. A format like "propertyname-date-jobnumber" lets you sort and filter across properties later, something a lightweight schema for tracking service history can help you set up in a weekend.
Pro Tip: Name your photo files and folders the same way you name your job IDs. It takes ten extra seconds and saves you from scrolling through hundreds of unlabeled images later.
Response time bands you can actually use
Judging vendor speed without a benchmark is guesswork. Facility teams commonly sort service requests into three bands, and the same structure works well for a small portfolio of homes or rentals.
- STAT: approximately half an hour to one hour, reserved for active leaks, no heat in freezing weather, or anything causing ongoing damage.
- Urgent: within two days, the category for a broken appliance, a failed lock, or a clogged main line.
- Routine: within a couple of weeks, covering landscaping, gutter cleaning, and cosmetic repairs.
These bands come from facility-management response time standards, and they translate directly to home ownership: a plumbing leak is STAT, a broken dishwasher is Urgent, a lawn service delay is Routine. When a vendor misses a target, note it in the job entry with a short reason. One miss is noise. Three misses in a row on the same category is a pattern worth addressing directly with the vendor or dropping them from your rotation.
Verifying a contractor before you hand over keys
A vendor's promise to carry insurance means nothing until you check it. Certificates lapse, get canceled mid-project, or were never valid in the first place.
- Ask for a certificate of insurance before the job starts, and where the policy size justifies it, confirm the certificate directly with the insurer or agent rather than trusting the document alone.
- Request that the certificate name you as an additional insured for larger jobs, since this adds a layer of protection beyond a standard policy.
- Use your state's contractor verification tool to confirm active registration, workers' comp coverage, and any safety citations. Washington's L&I tool is a useful example of what these lookups typically show, including bond claims and lawsuit history.
- Store the COI and license number in the property file, then set a calendar reminder for the renewal date so coverage never quietly expires mid-contract.
A homeowner's guide to certificates of insurance walks through the request language to use when a vendor pushes back on providing documentation.
Keeping payment history next to the job record
Vendor performance and payment history tell you two different things, but they only become useful together. A vendor who is always late might also be the one you are always late paying.
- Log the invoice issue date, due date, actual payment date, method, and any dispute directly in the same entry as the job details.
- Record partial payments and retainers separately from full payments, since a vendor holding a deposit on an unfinished job needs different follow-up than one waiting on a final check.
- Tag each payment as "paid," "disputed," or "pending" so a quick filter shows exactly where money is stuck.
- Keep digital receipts in the same folder structure as your job photos, using the same job ID, so nothing gets separated during a dispute or a tax season scramble.
A simple scoring method for judging vendor reliability
Three scores, each rated 1 to 5, give you enough signal to compare vendors without building a spreadsheet nobody wants to maintain.
- Timeliness: did the vendor meet the response band and the scheduled window, scored 5 for on-time, 1 for a no-show.
- Quality: judged against the after photos, scored 5 for a clean, complete job, 1 for visible problems or a callback.
- Communication: did the vendor confirm arrival, explain delays, and answer follow-up questions, scored 5 for proactive, 1 for unresponsive.
Average the three scores across a rolling 90-day window rather than judging a vendor on one bad day. A single missed appointment matters less than a pattern, so wait for at least three logged jobs before making a rehire decision. A vendor averaging below 3 across two consecutive quarters is a strong candidate to warn or replace.
Pro Tip: Keep the scorecard per vendor and per property side by side. A contractor who scores well at one home but poorly at another might be dealing with a specific access or scheduling issue at that address, not a general reliability problem.
Rolling this out over 90 days without overwhelming yourself
You do not need every property tracked on day one. A staged rollout keeps the habit alive long enough to become routine.
- Weeks 1 to 2: pick one property and your highest-volume vendor, log every job with the core fields, and get comfortable with the routine.
- Weeks 3 to 6: standardize your templates, add a second and third property, and apply the STAT, Urgent, and Routine bands consistently.
- Days 45 to 90: review the rolling scores, drop or warn any vendor trending downward, and consolidate everything into one dashboard instead of scattered sheets and folders.
The maintenance task tracking approach for small portfolios covers what to do once you are ready to move past manual logs.
Why a single dashboard removes most of the friction

Most of the tracking work above fails not because owners lack discipline, but because the pieces live in five different places: a text thread, an email folder, a photo app, a spreadsheet, and a stack of paper receipts. Some software platforms consolidate property status, maintenance schedules, vendor contacts, and documents into one dashboard, so a vendor's job history, photos, and payment record sit next to each other instead of scattered across apps.
The practical upside is fewer lost receipts, more consistent vendor records across properties, and faster decisions when a contractor's performance starts slipping. For more on keeping vendor contacts organized as your portfolio grows, see organizing contractor contacts by property.
— Francisco
See how the checklist works inside one dashboard
Everything in this article, the job fields, the response bands, the scorecards, the payment tags, maps directly onto a dashboard built for owners, not property management companies. Property Command Center keeps your vendor directory and task tracking in one place, so you stop rebuilding the same spreadsheet for every property you add.
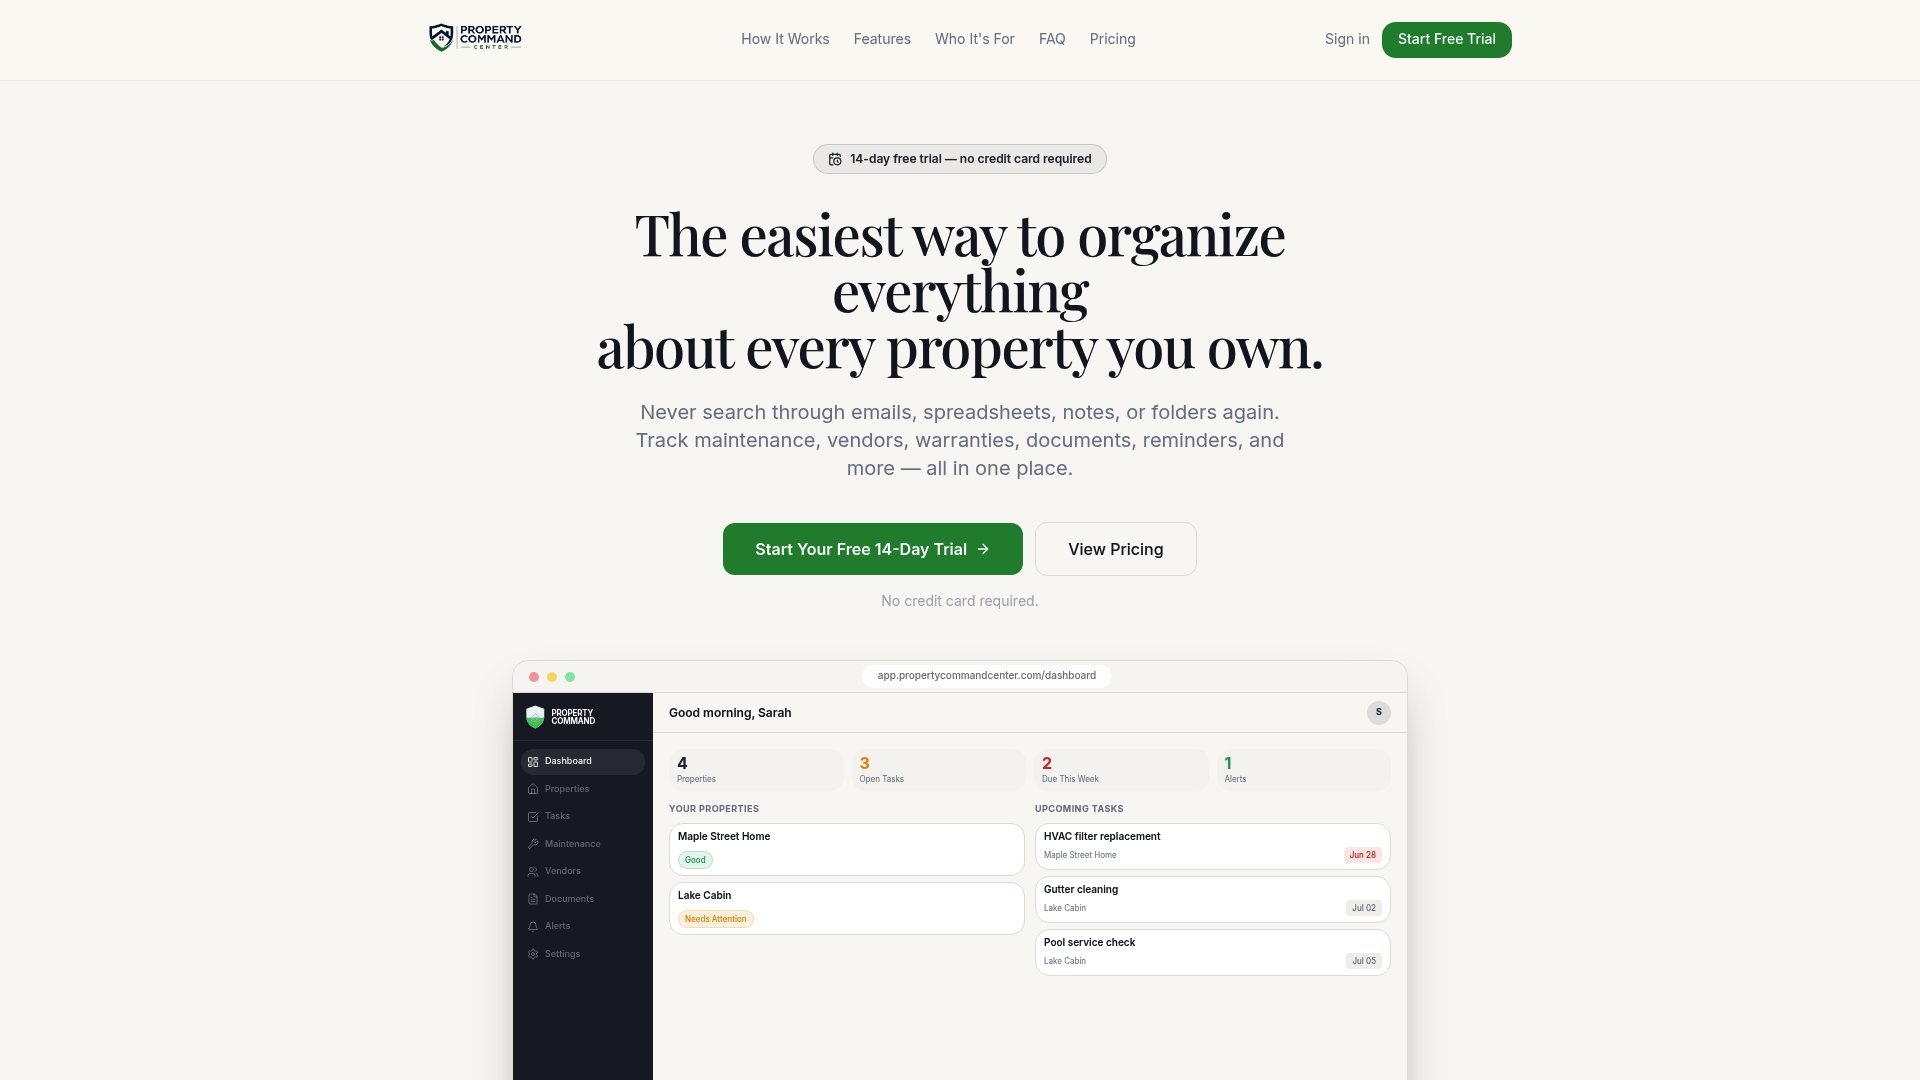
If you want to see whether it fits your setup, check the Starter and Pro plans or start the 14-day free trial and log your next vendor job directly into the dashboard instead of a note app.
Where to verify vendor licenses and insurance

Bookmark your state's contractor verification tool, such as Washington's L&I lookup, and keep the certificate of insurance guidance handy before hiring. Cleanliness data comes from an AHLA study on guest comfort.
Sources
- AHLA study: cleanliness top factor in guest comfort
- Facility service response time standards (example guidance)
- Verify a Contractor, Tradesperson or Business (WA L&I)
- How to verify if your contractor has the right insurance (NH Insurance Dept.)
FAQ
What is vendor performance tracking for property owners?
It means logging response times, completion status, photo-verified quality, and payment history for every contractor job across your properties. The goal is a simple record you can review to decide who to rehire and who to drop.
How fast should a vendor respond to a repair request?
Common response bands are STAT at approximately half an hour to one hour for active emergencies, Urgent at within two days for broken appliances or locks, and Routine at within a couple of weeks for cosmetic work. Applying the same bands to every vendor makes it easy to spot who consistently underperforms.
Why does cleanliness affect vendor tracking for rentals?
Cleaning vendors have an outsized effect on guest satisfaction, since about 81% of travelers rate cleanliness as a top factor in choosing accommodations. Tracking a cleaning vendor's photo-verified quality score alongside guest reviews helps you catch a decline before it hits your ratings.
How do I verify a contractor's insurance before hiring?
Request a certificate of insurance and, for larger jobs, confirm it directly with the issuing insurer or agent since certificates can lapse or be canceled after the job starts. Also check your state's contractor verification tool for active registration and workers' comp status before work begins.
How many jobs should I log before scoring a vendor?
Wait for at least three logged jobs before averaging a vendor's timeliness, quality, and communication scores, since one bad day is not a pattern. A 90-day rolling average smooths out one-off problems and gives you a clearer signal for rehire decisions.