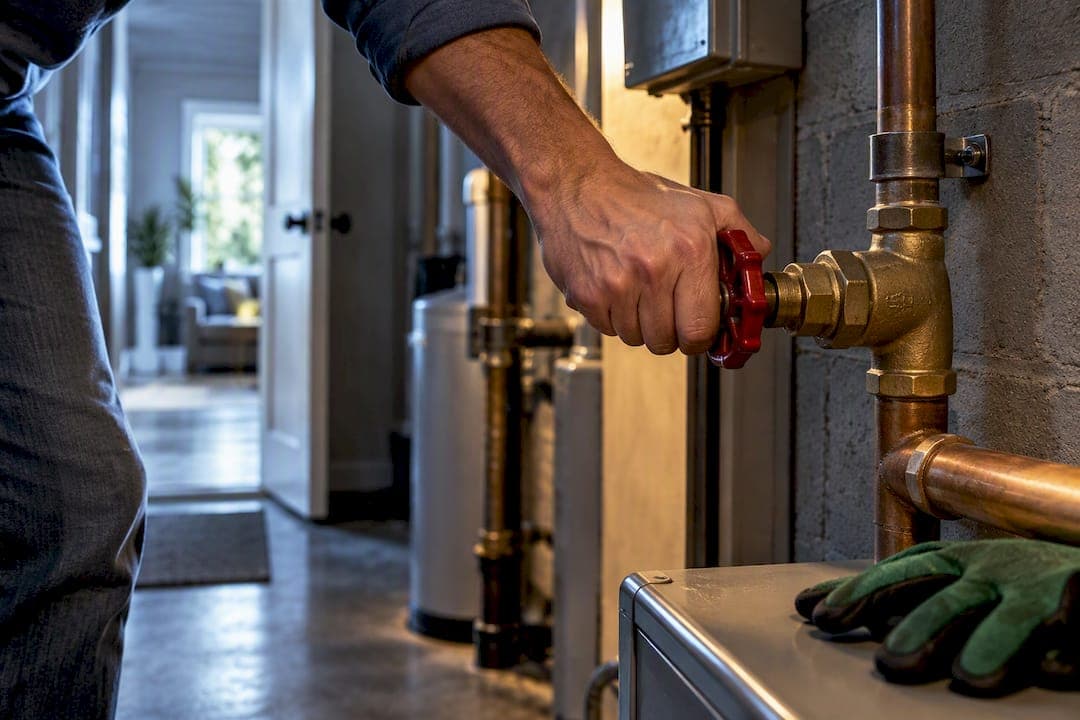
An emergency maintenance plan is a written protocol that tells everyone what to do the moment something threatens people or property: who acts first, what they check, and who they call. The order never changes. Protect people, stop the damage from spreading, then notify the right contacts. A usable plan names roles, lists contacts, marks utility shut-offs, sets a communication protocol, and requires documentation from the first minute.
TL;DR:
- Regular testing of vendor response times and updating contact information are crucial to ensure emergency plans remain effective during actual incidents.
- Maintaining clear documentation of all communications, photos, and repairs improves insurance claims and helps identify root causes to prevent recurrence.
- Building redundancy into vendor networks with at least three contacts per trade and confirming licenses and insurance helps avoid delays during emergencies.
- Clear tagging and occupant training on utility shut-offs significantly reduce response times and prevent secondary accidents during crises.
- Using a centralized dashboard to manage property information, vendor contacts, and incident logs ensures quick access and keeps the plan current.
Table of Contents
- Your first-hour checklist for occupants and on-call staff
- The five-step process for building your emergency playbook
- How to communicate with tenants, owners, and vendors, and what to document
- How to build and verify an emergency vendor network
- Shut-offs, training, and supplies every property needs
- Turning the plan into a living workflow
- A copy-ready template and one sample incident procedure
- What most owners get wrong about emergency planning
- How a centralized dashboard supports your emergency plan
- Sources
- FAQ
Your first-hour checklist for occupants and on-call staff
The first 60 minutes decide whether an incident becomes a story or a claim. Give occupants and on-call staff this exact sequence, printed or saved where they can find it without hunting.
- Call 911 immediately for fire, a gas smell, sparking electrical panels, or any injury; do not attempt to handle these yourself.
- For non-life-threatening issues (a burst pipe, an overflowing toilet, no heat), call the on-call vendor or maintenance line listed in the plan.
- If it is safe to do so, shut off the relevant utility, water at the main, gas at the appliance valve, or power at the breaker, using the tagged locations in your plan.
- Move people and valuables away from the danger zone, but never re-enter a space that smells like gas or shows exposed wiring.
- Take time-stamped photos or video of the damage before cleanup starts, and note who took them.
- Send the first acknowledgement message to the tenant or owner within the hour: "We've received your report and a vendor is being dispatched. Next update by [time]."
- Log the call, the vendor dispatched, and the expected arrival window in the incident record.
That sequence works whether the responder is a tenant, a property manager, or an owner checking in remotely.
The five-step process for building your emergency playbook
A plan built once and never touched again stops matching reality within a year. Building it right the first time means walking through five steps for every property or portfolio you manage.
- Map the risks. List what is likely to go wrong given the property's age, climate, and systems: frozen pipes in a cold-climate rental, aging electrical panels in an older home, or storm exposure for coastal properties. Rank them by likelihood and severity so the worst-case, most-likely events get procedures first.
- Assign roles and build the escalation ladder. Name who responds first, who approves emergency spending above a set dollar amount, and who gets called if the first contact does not answer within 15 minutes. Format every contact the same way: name, role, phone, backup phone, and hours of availability.
- Write core incident procedures. For each top risk, draft a short "rip-and-run" procedure, a one-page sequence with no ambiguity: what to check, what to shut off, who to call, in that order. A water leak procedure and a gas leak procedure should look nothing alike because the actions are different.
- Lock in vendor agreements and coverage. Line up at least three vendors per trade (plumbing, electrical, HVAC) with documented response times, after-hours rates, and billing terms, so a single vendor's day off never leaves you exposed. A related resource on assembling emergency home contacts covers how to structure that list for multiple properties.
- Test it and document the results. Run a low-stakes test call with each vendor, confirm response times against what they promised, and write down what actually happened. A plan nobody has tested is a guess.
Skipping step five is the most common shortcut, and it is the one that fails when an actual emergency hits at 2 a.m. and the "24-hour emergency line" goes to voicemail.
How to communicate with tenants, owners, and vendors, and what to document

Silence during an emergency creates more complaints than the emergency itself. Set a cadence and stick to it: acknowledge every report within about an hour, send a status update at the four-hour mark, and continue daily contact until the issue is closed, a pattern Ready supports as a way to reduce panic and preserve trust during a crisis.
What to document for every incident:
- Time-stamped photos and video from arrival and from completion of the repair.
- Written notes on what was found, what was done, and by whom.
- The responder's name or ID and the vendor invoice.
- Every message sent to the tenant or owner, with timestamps.
Status message templates that work:
- First contact: "We've received your report of [issue] and a vendor is on the way. Next update by [time]."
- Four-hour update: "The vendor has assessed the issue and [action taken or in progress]. We expect resolution by [time]."
- Escalation: "This issue requires additional parts or specialist work. Updated timeline: [time]. We appreciate your patience."
Regular, honest updates are the single most important non-technical factor in managing a maintenance emergency well, according to Ready.gov guidance on preparedness communication, more so than how fast the actual repair happens. Documentation is not paperwork for its own sake either: those photos and notes feed directly into insurance claims and into the root-cause review that stops the same emergency from happening twice. For the tenant-facing side of these timelines, see this guide on landlord maintenance responsibilities.
How to build and verify an emergency vendor network
A vendor list is only as good as the last time someone actually called the numbers on it. Build the network with redundancy in mind, then test it before you need it.
- Keep three vendors per trade on file (plumbing, electrical, HVAC, at minimum) with documented hours, average response time, and how they bill after-hours work.
- Verify license and insurance status when onboarding any vendor, and confirm in writing how they expect to be contacted outside business hours.
- Schedule one routine, low-stakes service call with each emergency vendor per year to confirm they still serve the property, still have accurate access instructions, and still answer when it counts. FEMA's preparedness guidance frames this kind of pre-incident validation as the way to catch coverage gaps, wrong service areas, missing key access, before a real emergency exposes them.
- Have a documented fallback: if the first vendor on a trade doesn't answer within 15 minutes, who gets called next, and who has authority to approve that call.
Pro Tip: Treat the annual vendor test call like a fire drill: log the response time, compare it to what the vendor promised, and update the contact sheet immediately if anything doesn't match.
For guidance on structuring that directory across multiple properties, this piece on organizing contractor contacts by property walks through the fields worth tracking. When a fallback needs to extend beyond your usual trades, for instance a vacant property that needs onsite monitoring during a prolonged repair, a service like Guard Services can cover that gap.
Shut-offs, training, and supplies every property needs
Life safety comes before property preservation, always. If there's a gas leak, smoke, or fire, evacuate immediately and call 911 from outside the building. Do not attempt to find the source or fix it yourself.
- Locate and clearly tag the main water shut-off, the gas shut-off valve at each appliance, and the main electrical breaker panel, and make sure every occupant knows where they are.
- After a gas shut-off, only a licensed professional should restore service. Ready.gov's guidance is explicit on this point: gas restoration is not a DIY task under any circumstance.
- Keep an ABC-rated fire extinguisher accessible on every level of the property, and make sure whoever might use it has actually been trained on it first.
- A basic first-aid kit belongs in every unit, along with encouragement (or a requirement, for staff) to take a CPR and first-aid course.
Untrained occupants who attempt emergency repairs risk secondary accidents, electrical shock, gas ignition, that are often worse than the original problem, a point the U.S. Fire Administration's life-safety guidance makes central to its approach: evacuate when there's danger, and leave the repair to someone qualified. Record every shut-off location in the written plan with a photo, and walk new tenants through them during move-in orientation. It takes five minutes and it is the difference between a calm response and someone searching for a breaker panel in the dark during a fire.
Turning the plan into a living workflow
A plan that sits in a drawer stops being accurate the first time a vendor changes their phone number. Review it on a set schedule: once a year at minimum, plus immediately after any major incident, a cadence recommended in the EPA's emergency response plan template for water utilities and equally sound for individual properties.
- Trigger an immediate update whenever a vendor relationship ends, a contact changes, or a new risk appears (a renovation, a new tenant with different needs).
- After every incident, run a short root-cause review: what happened, what worked, what didn't, and what needs to change.
- Convert each finding into a preventive maintenance task and track it to completion instead of letting it sit in a note app. A maintenance task tracking system built for small portfolios makes that conversion easier to manage over time.
- Store the plan in at least two places, one on-site and one off-site or cloud-based, and name one person who owns keeping it current.
A central dashboard can absorb most of this automatically: reminders for the annual vendor test, alerts when a contact record hasn't been touched in a year, and a running incident log that doubles as the RCA record.
A copy-ready template and one sample incident procedure
Your plan document needs six sections: property identification, emergency contacts (with backups), utility shut-off locations with photos, incident checklists by risk type, a vendor directory with SLAs, and an incident log.

Here's a short example for a water main break: 1) shut off the main water valve, 2) call the on-call plumber, 3) move belongings away from the water, 4) photograph the damage, 5) note the time water was shut off, 6) send the tenant an acknowledgement message, 7) confirm the plumber's arrival window, 8) document the repair on completion, 9) file the invoice with the incident log, 10) schedule a follow-up check for hidden moisture.
For a single home, this fits on one printed page. Across a small portfolio, the same six sections repeat per property inside a shared system, which is where a portfolio organization approach keeps things from turning into a folder full of near-duplicate documents.
What most owners get wrong about emergency planning
The most common mistake isn't a missing contact number, it's never testing the plan at all. Owners write the document, file it, and assume it will hold up. It rarely does, because vendors change hours, phone numbers go stale, and nobody notices until the night it matters.
For a small portfolio, skip the elaborate binder and start with two things: a contact matrix that's actually current, and one tested vendor per trade who has confirmed they'll answer at 2 a.m. Everything else can wait. Keeping that information in one place, rather than scattered across texts and sticky notes, is what actually shortens response time when something goes wrong.
— Francisco
How a centralized dashboard supports your emergency plan
Writing the plan is half the work. Keeping it accurate, and reachable in the moment you need it, is the other half, and that's the part Property Command Center is built for.
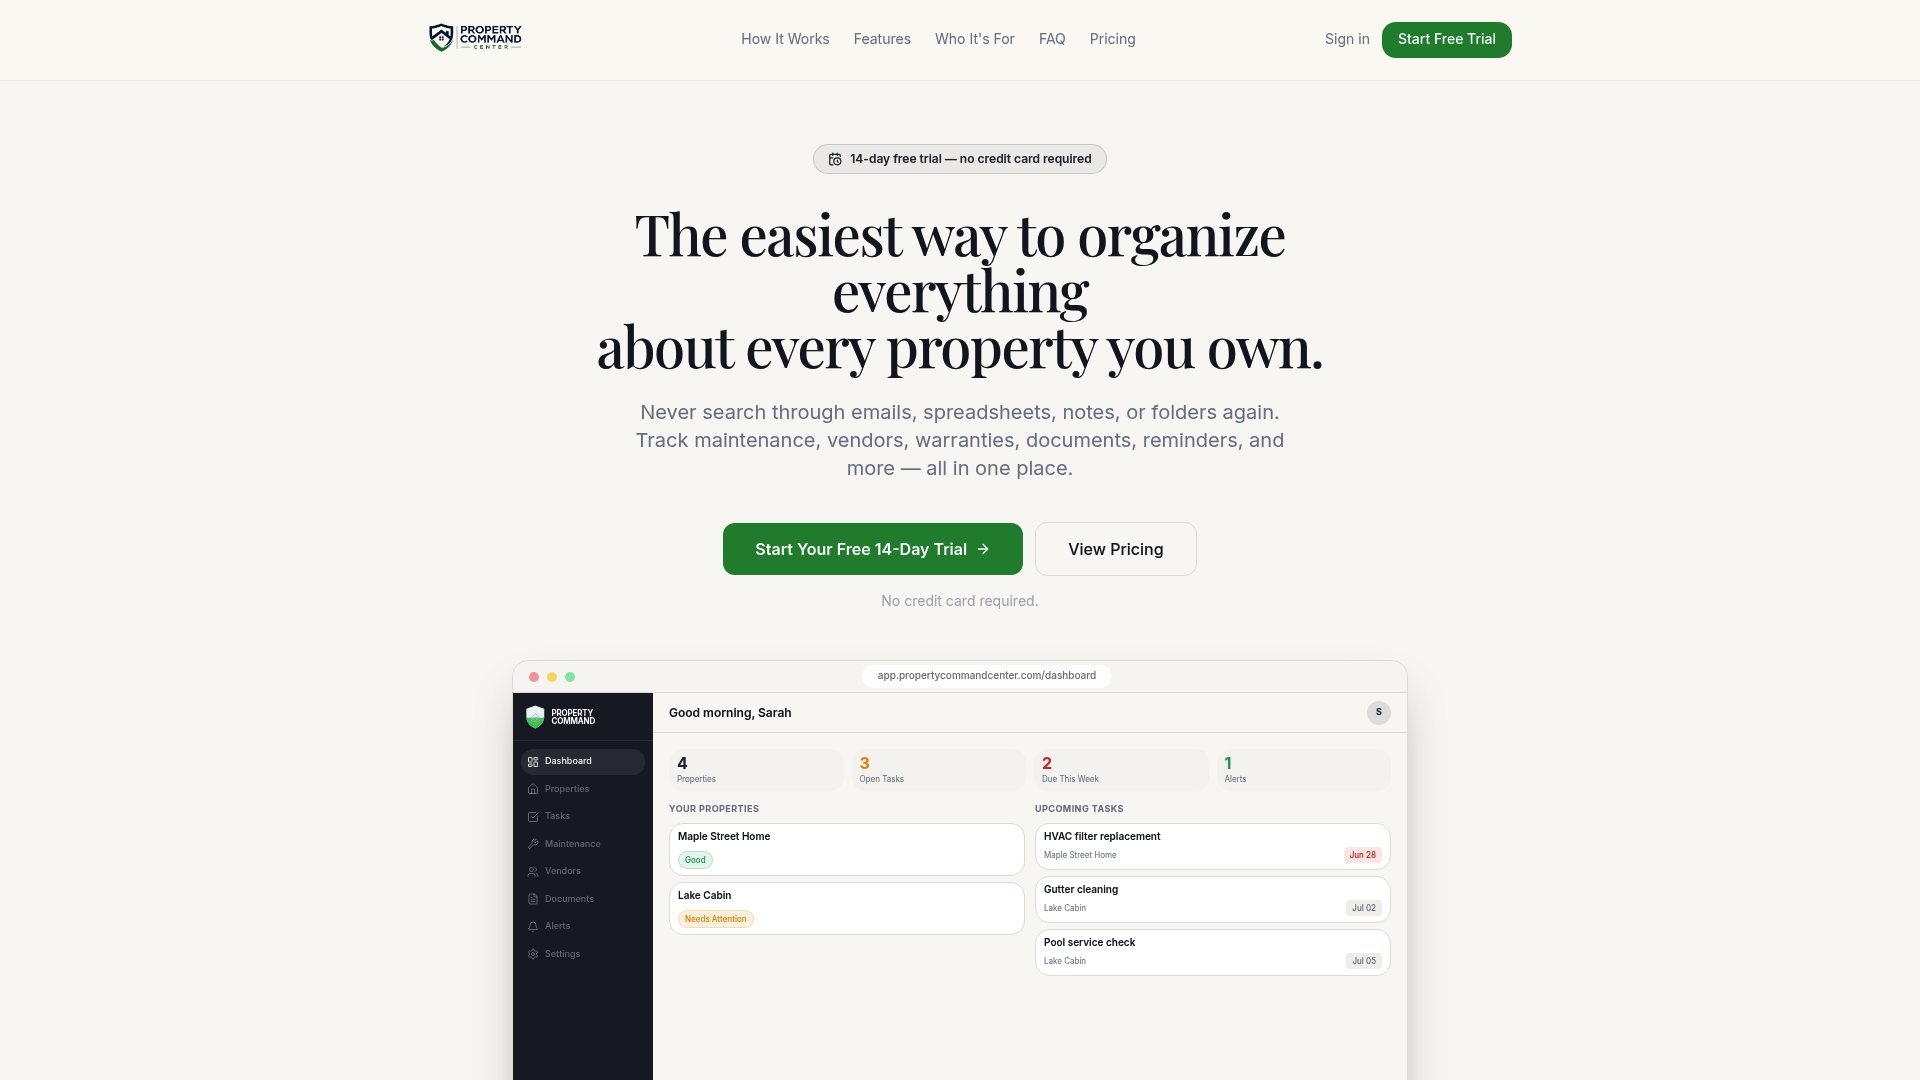
The dashboard consolidates property status, maintenance schedules, vendor contacts, and documents like insurance policies and shut-off records into one place, so you're not digging through email during an emergency. It also helps keep vendor contacts and incident logs current by prompting reminders instead of relying on memory.
- Property status, maintenance schedules, and documents live in one dashboard instead of scattered files.
- Vendor contacts and incident records stay current through automated reminders rather than manual upkeep.
Property Command Center offers a Starter plan and a Pro plan; see current pricing for details, along with the vendor directory tools for organizing contractor contacts by property. If you manage more than one property and want your emergency plan somewhere you'll actually find it at 2 a.m., start with a look at the plans.
Sources
FAQ
What qualifies as a maintenance emergency?
A maintenance emergency is any issue that threatens someone's safety or is actively causing property damage right now, not something that can wait until business hours. That includes active water leaks, gas odors, electrical fires or sparking, and heating failures during freezing weather.
Can you give me an example of emergency maintenance?
A burst water pipe flooding a unit, a gas smell near an appliance, or a furnace failure in sub-freezing temperatures are all classic emergency maintenance situations. Each requires an immediate response: shutting off the relevant utility if it's safe to do so, then calling either 911 or the on-call vendor listed in the property's plan.
What are the 5 steps to an emergency plan?
The core sequence is: map the property's risks, assign roles and build an escalation ladder, write short incident procedures for the top risks, lock in vendor coverage with documented response times, and test the whole thing before you need it. Skipping the testing step is the most common reason plans fail during an actual emergency.
What is included in a maintenance plan?
A complete plan includes emergency contacts with backups, tagged utility shut-off locations, incident checklists for the most likely risks, a vendor directory with response-time agreements, and a log for documenting every incident with photos and time-stamped notes. Reviewing and updating it, at least annually and after every major incident, keeps it useful rather than just filed away.